Quick Setup Guide
Congratulations on your new Gaming PC!
Our Quality Assurance team has put your new PC through several hours of stress testing and game testing, but there are a few important steps to follow before we can get gaming:
Step 1 – Packaging Foam Removal (If Installed With Your Purchase)

Remove screws from the left side panel and remove the panel.
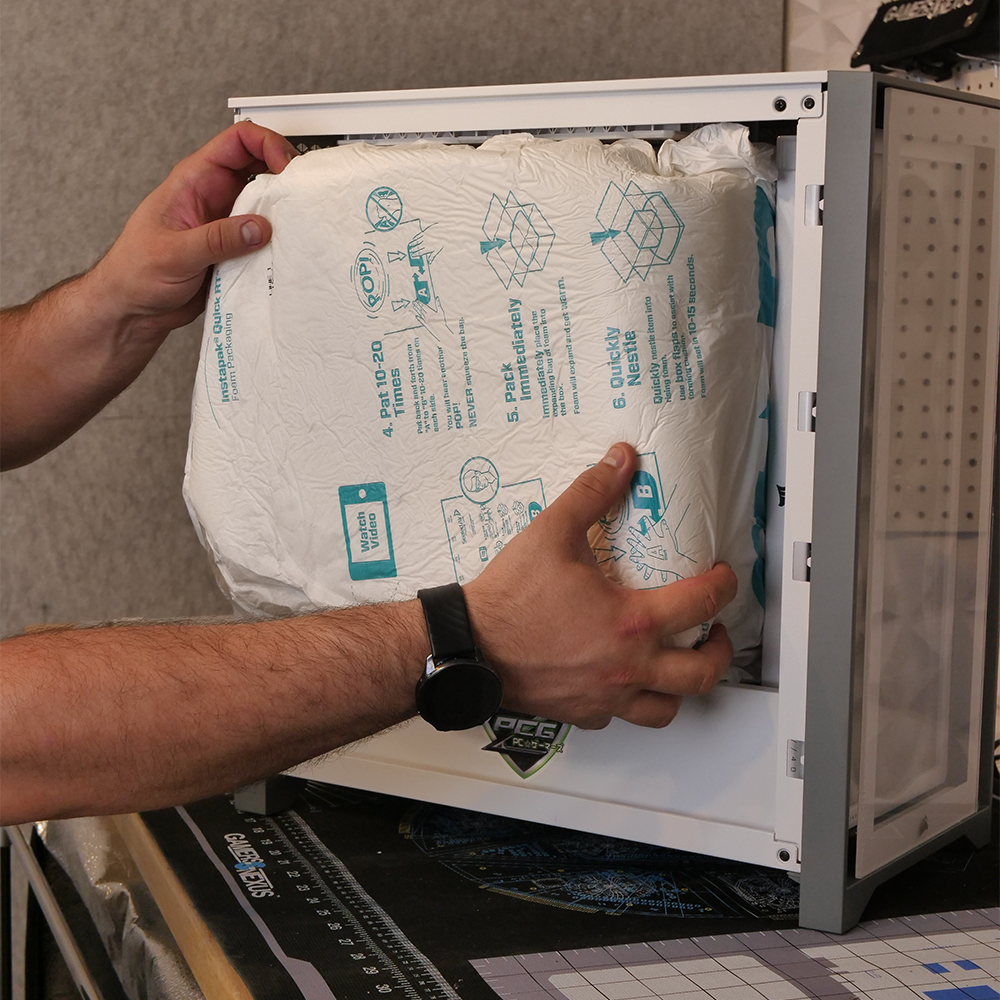
Always carefully remove the protective foam before turning on.
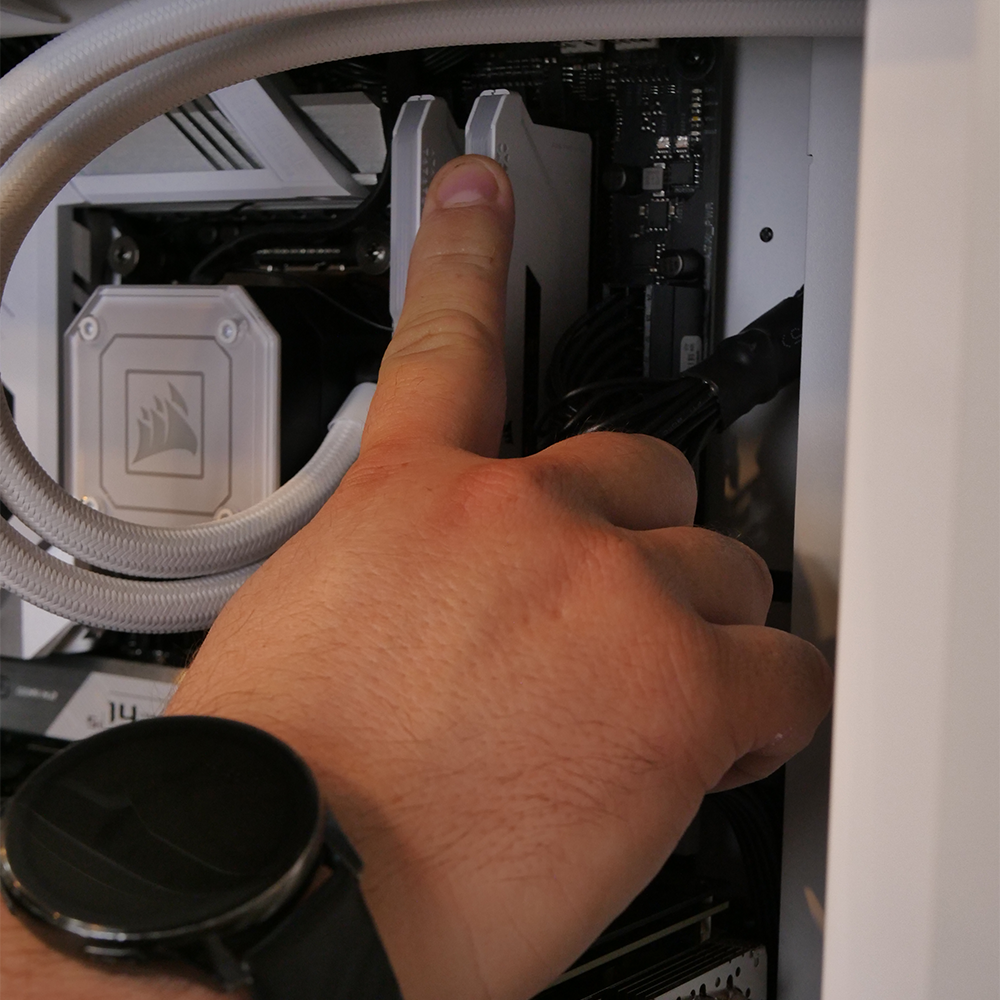
Check that the Ram and graphics card are properly seated. Then replace the side panel.
Step 2 – Connecting Your Display
99% of our systems will have a Graphics card. Please plug one cable in for each monitor you have to the horizontal Graphics card ports
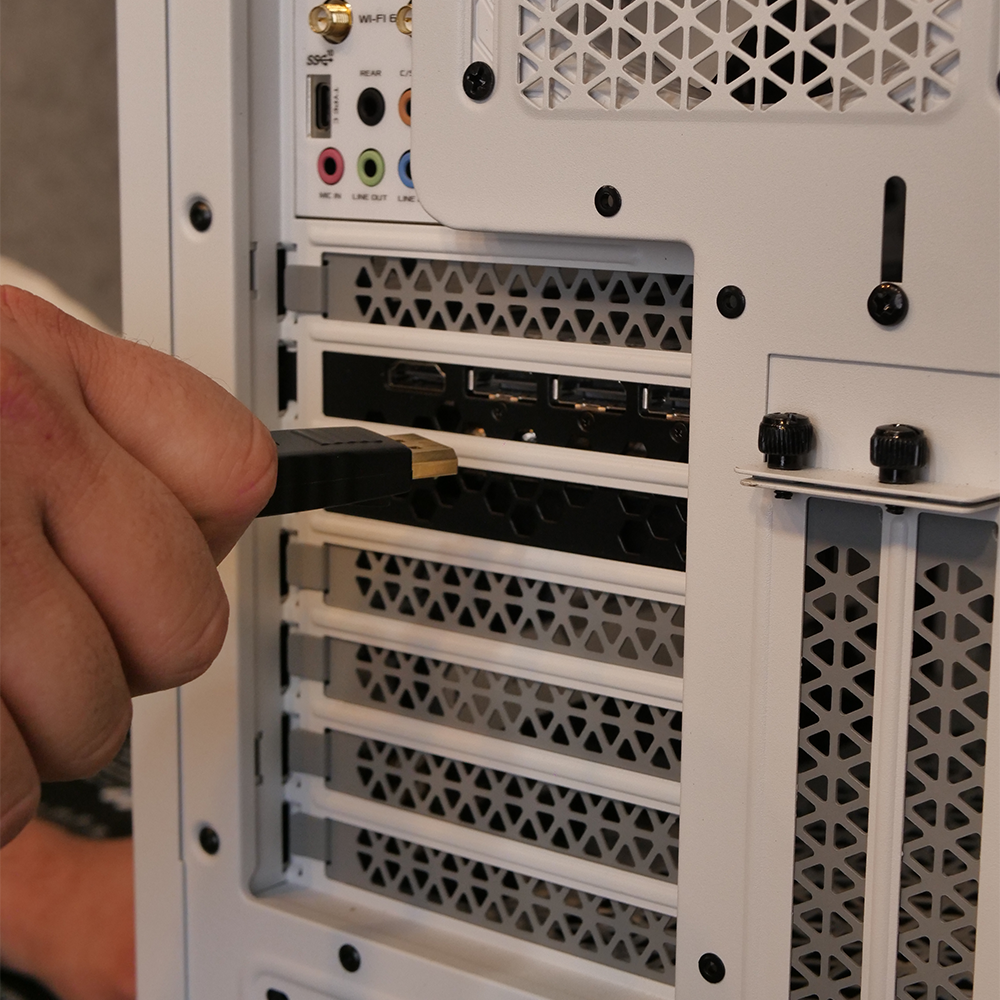
If you chose a computer without a graphics card, please connect your monitors to the vertical motherboard outputs
Step 3 – Connecting Peripherals
Connect your peripherals such as your mouse, keyboard, speakers, headset, and network to the appropriate ports.
When using WIFI or Bluetooth The antenna MUST be connected for optimal performance
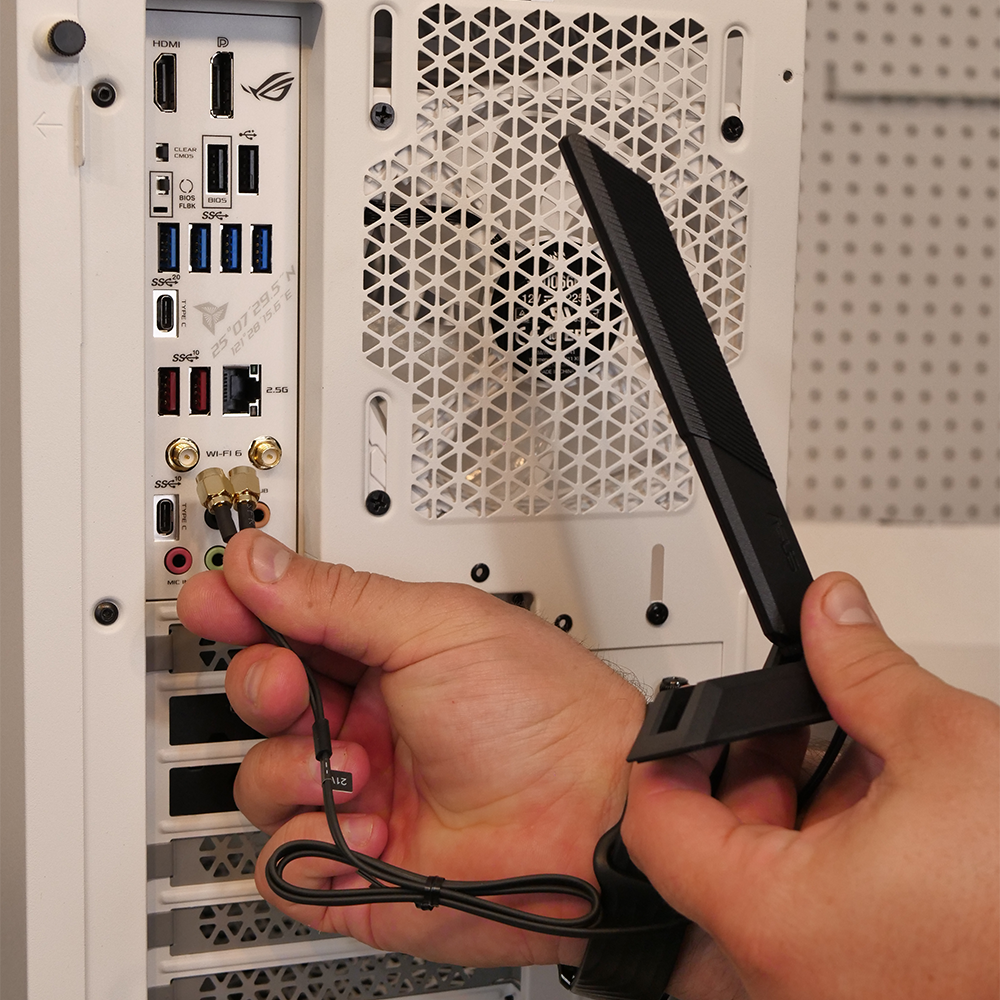
Note most peripherals today are color coordinated so when in doubt match the color of the connectors together with the matching port on the system.
Step 4 – Powering On Your System
Plug the included power cord to your system’s power supply and the other end to a Surge Protector or Uninterrupted Power Supply.
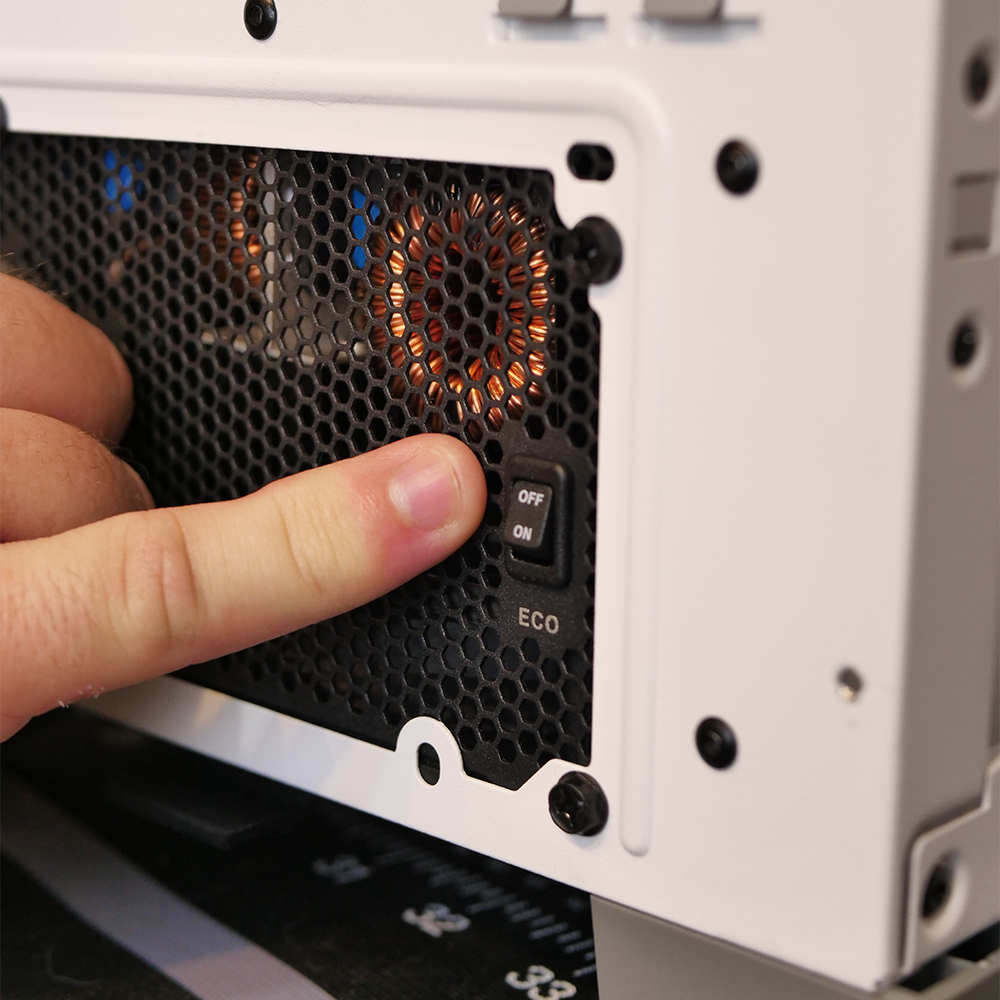
Remember you made need to switch on the system’s power supply first (I/O Switch) before you can power on your computer with the front power button.
IMPORTANT: Keep Eco Mode OFF – it can cause stability issues.
Step 5 – Start Gaming
Windows has already been installed, updated, and optimized. Warzone has also already been downloaded for your convenience.

If the system asks for a password, leave it blank and press Enter. PC Gamerz never places a password on the system.

